page-header

3D Printed Lamp

  • 3D modelling
  • 3D Printing
  • Painting
  • Electrical Wiring
  • Staining
  • Resin Coating
  • Blender3D
  • Simplify3D
  • Robo3D

Design Task

Every year around Christmas, my family and I draw names for a Secret-Santa gift exchange. This year I drew my father’s name. When I was growing up my father taught me various electrical and wiring skills, so as a way to honor how much he taught me during that time I decided to make him a lamp.

Design Process

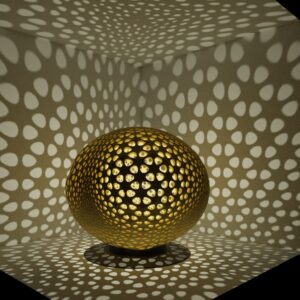
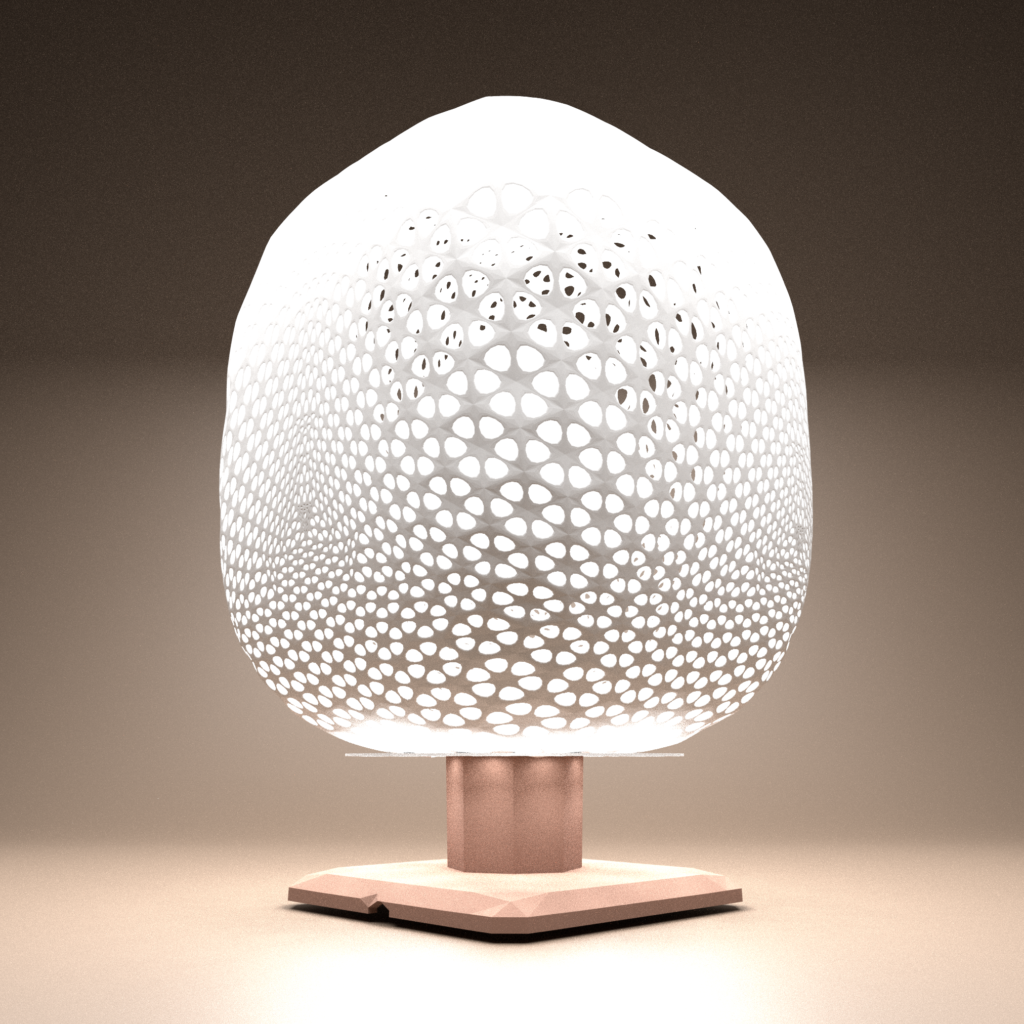
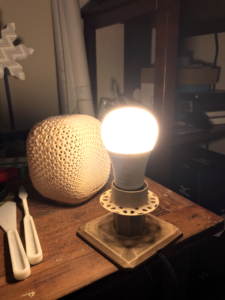
I began looking up modern lamp shades designs and playing in Blender3D as possible shade styles. I knew that I wanted to 3D print the design so it would need to be semi-porous to all for the light to shine through. In doing renders I explored how that could become part of the aesthetic.

Initial Exploration

Lamp

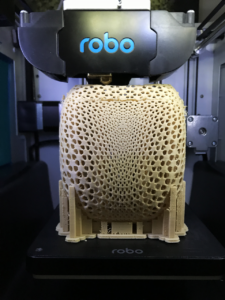
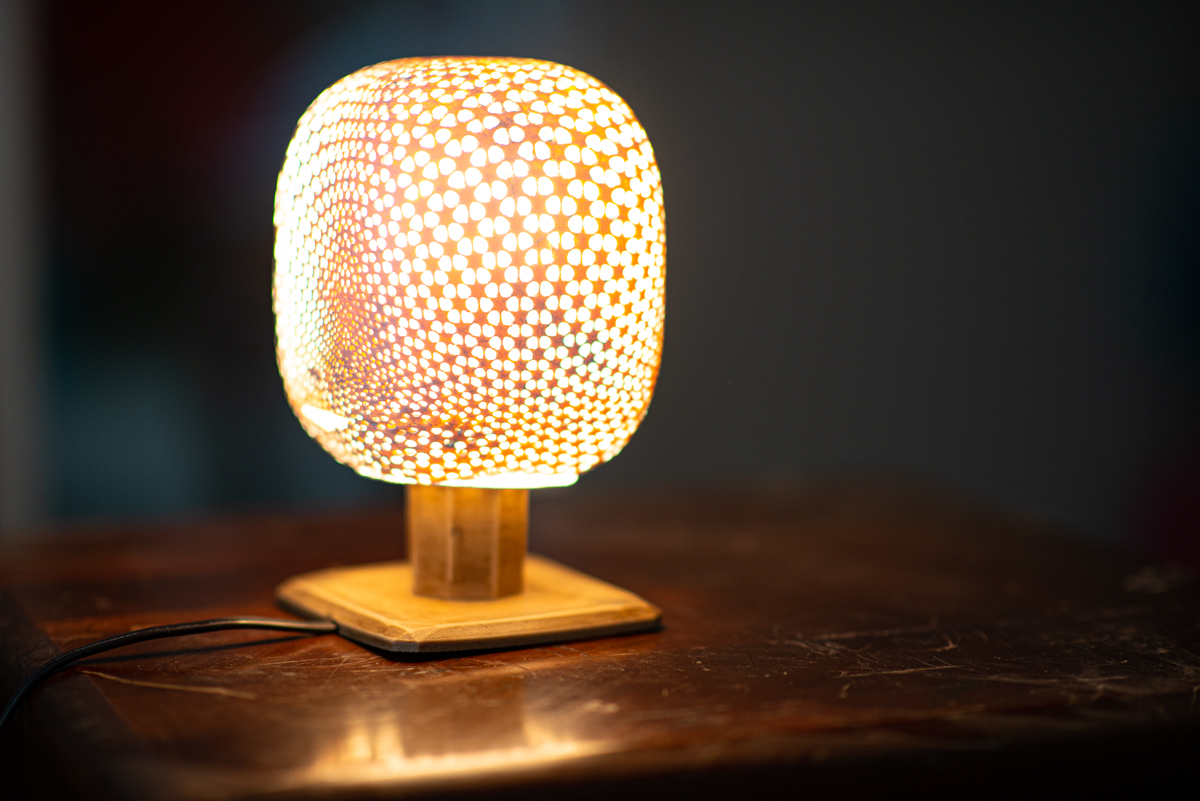
The lamp was printed on a Robo3D C2 3D printer with a wood infused PLA filament. The base took about 20 hours. The stopper that helps keep the shade off the bulb took about 10 hours. The shade instead took about roughly 5 days to print. After printing each part, I went through a sanding and clean-up phase. The base where the bulb and socket is, was coated in a wood stain over 3 times to bring out the wood like qualities of the filament. It was then coated in a resin to clean up the layer-lines and seal the stain. The shade in stopper was painted with white gesso and then painted with white acrylic paint.

The lamp stands roughly 10 inches off the table.
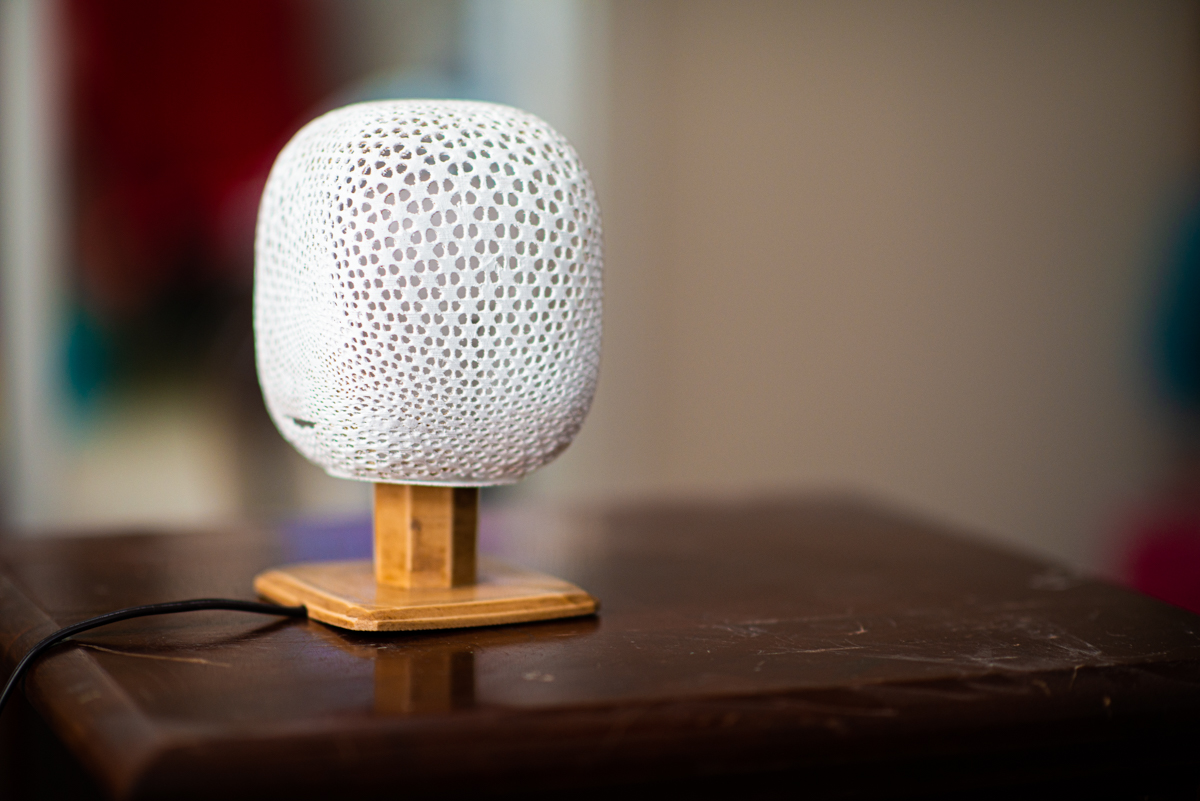
Completed Lamp
Final lamp painted, stained, coated, and wired.
Completed Lamp
Final lamp painted, stained, coated, and wired.